Battle of the Somme
Battle of the Somme
“Christmas, 1915, must have been amongst the most gloom-loaded celebrations of the 20th Century. The War, which all had supposed would be over by the previous Christmas, continued to consume lives and resources with unabated gusto. For decision makers on both sides it was obvious: Something must be done!”
After two years of trench warfare, the Allies attempt to break through German lines on the Western Front. The ensuing battle, now known as the Battle of the Somme, would last for months and result in more than one million casualties.
The Battle of the Somme is the term given to series of battles fought between 1 July and 18 November 1916 along the Somme Valley in France. Hundreds of thousands British, Australian, German and German soldiers were killed in what would be the bloodiest battle of World War One.
Apart from its financial and industrial contribution, Australia provided the greatest military contribution of all the British dominions: 331,000 volunteers (out of a population of 4,875,000) but she also suffered the greatest loses, 64.8 per cent, or 58,500 men, including 16,000 dead. Paradoxically,
however, it was Australia's participation in the World War 1 and her own terrible losses which became a contributing factor in the birth of this new nation.
Over the next 147 days we will look at Tasmania’s contribution to the Battle.
Check in each week for new updates.
Setting the scene

At 8.12am on 21 February 1916, German artillery began an assault on the French city of Verdun. Under many different forms, this assault continued until November and became to be known as one of the longest battles on the Western Front.
It began with a German plan to ‘bleed France white’ of manpower by forcing them to desperately defend a city that they could not afford to lose.
After nine months of fighting and a huge casualty count, the Battle drew to an end, both sides were near extinction. The casualties from Verdun and the impact the battle had on the French Army was a primary reason for the British starting the Battle of the Somme in July 1916 and continued with it after the disastrous First Day on 1 July 1916.
Tasmania’s Involvement
4 September 1916
Last elements of 4th Australian Infantry Division, relieved by incoming Canadian battalions, move back to Rubempre. On this day the cousin of Stan VC, Allan Benson McDougall (from Middleton Tasmania) was killed in action at Mouquet Farm.

3 September 1916
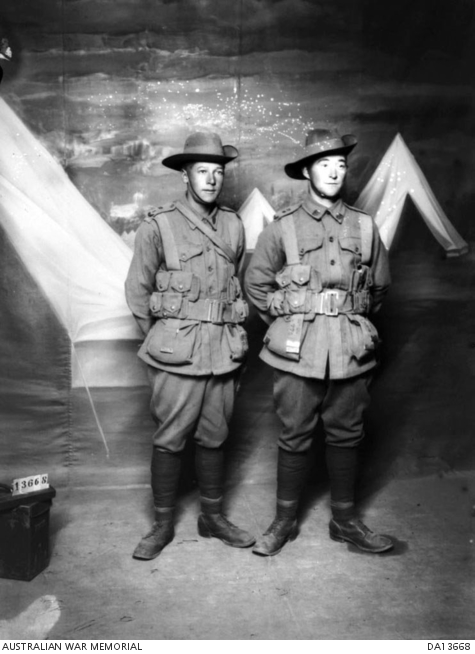
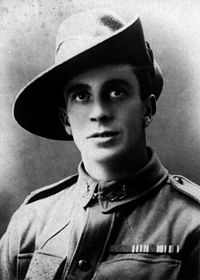
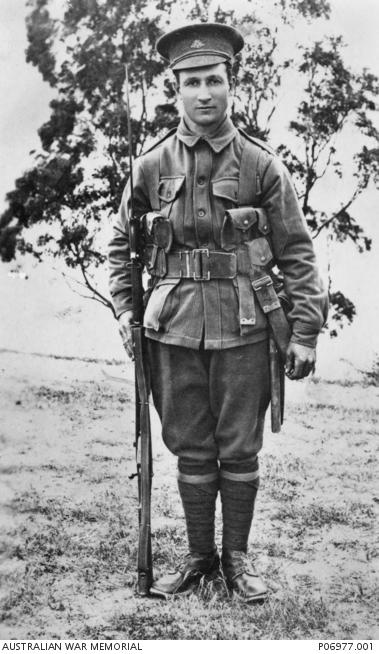
12th Brigade mount assault on defence positions around Mouquet Farm. All objectives taken and held, except the farm itself. First Canadian Infantry Division assumes command, relieving 4th Australian Infantry Division. The photo shows the portrait of Private Leslie Allen, 14th Reinforcements, 12th Battalion, of Taranna, Tasmania. Private Allen was killed on this day in action at Mouquet Farm.
1 September 1916
Heavy, accurate artillery fire falls 'round the clock on Australian trenches before Mouquet farm.

31 August 1916
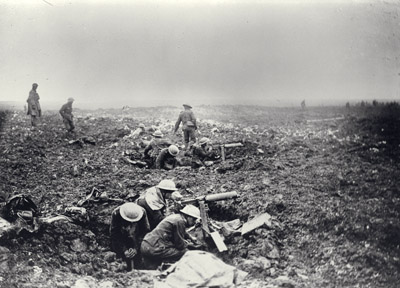
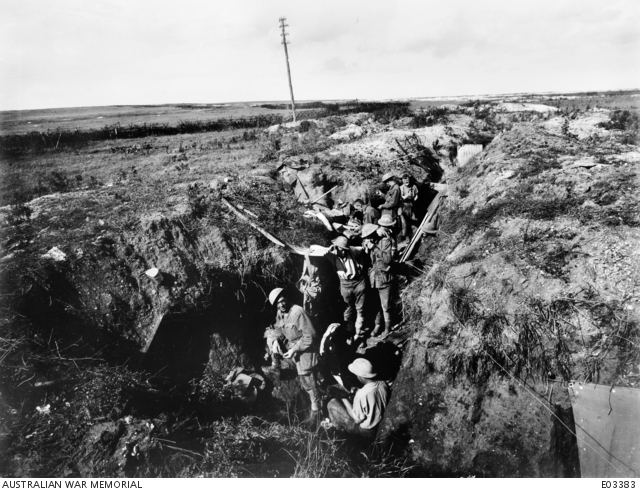
1st Canadian Infantry Brigade relieves 7th Brigade on the right of the line. During World War One 630 000 Canadians served, 425 000 were deployed to the battlefields, 60 661 lost their life and 172 000 were wounded. The photo shows Canadian machine gunners digging themselves into shell holes.
30 August 1916
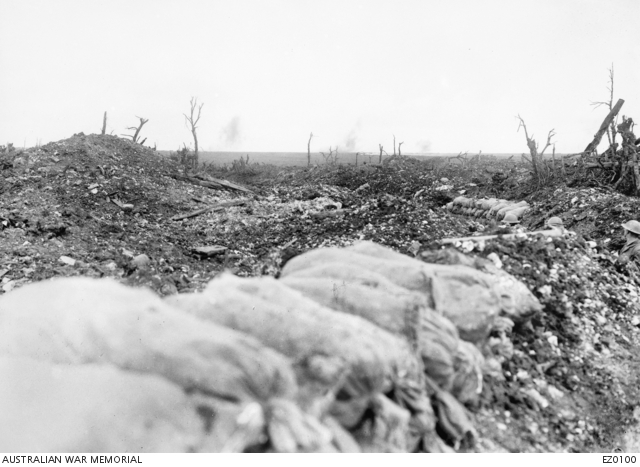
12th Brigade relieves 4th Brigade on left of line. Heavy rain had also turned the shell–torn earth of Mouquet Farm into a quagmire in which the mud penetrated rifle and machine–gun mechanisms, rendering them useless, and even clogged the firing pins of grenades.
29 August 1916
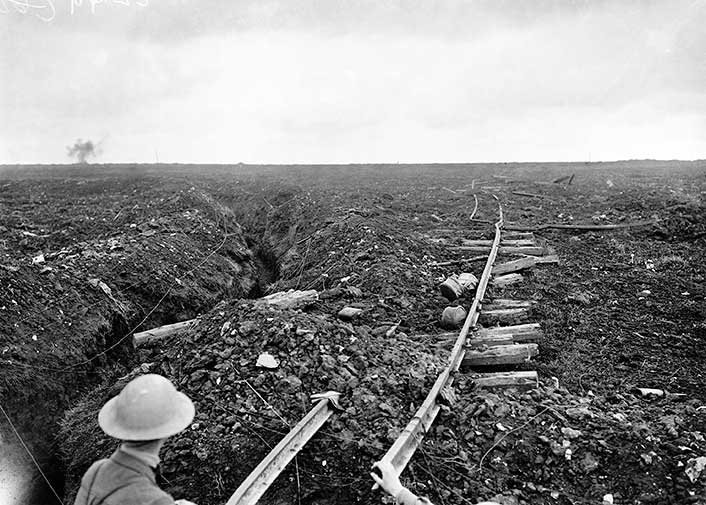
Again, at midnight, 4th Brigade assault and occupy Mouquet Farm before being driven back to their start line by a rapid and overwhelming enemy counter-attack. The picture shows the view from the communication trench known as Centre Way and looking towards Mouquet Farm. In the distance three shells are bursting within the German lines. Two soldiers wearing steel helmets are crouching in a trench on the far right. In the foreground are some sandbags.
28 August 1916
4th Australian Infantry Division takes command from 2nd Australian Infantry Division. Continuous and accurate artillery-fire on our trench-lines all day. While fire from heavy guns regularly sweeps Sausage Valley.
27 August 1916
At midnight an assault on Mouquet Farm defences is staged by the14th Battalion . At first they gain all objectives only to be forced back by superior numbers. Exactly two years later on 27 August 1918, Lance Corporal B.S. Gordon, 41st Battalion, originally from Launceston, Tasmania, wins the Victoria Cross near Bray, France.
26 August 1916
4th Brigade (4Div) begins relief of 6th Brigade (2Div) before Mouquet Farm. Whilst this was occurring the 6th Australian Brigade launched an attack on Mouquet Farm itself. Mouqet Farm was the focus of nine separate attacks by Australian troops between 8 August and 3 September 1916.
24 & 25 August 1916
1st Anzac Corps War Diary records enemy artillery fire on these two days as “quieted down” and “quieter” with no assaults or counter-attacks only consolidation and sapping. For this same period Second Division War Diary reports casualties of 7 officers and 389 other ranks.
23 August 1916
12th Battalion relieved by 24th Battalion (6th Brigade) as part of Second Australian Infantry Division relief of First Division.
21 August 1916
6.00pm 3rd Brigade mounts assault towards Mouquet Farm (12th Battalion on the left). Meet with heavy artillery and machine-gun fire but gain objective. 12th Battalion War Diary records for this action 45 killed, 137 wounded and 41 missing.
19 August 1916
8.00pm First Division estimate casualties 16-19 August at 50 officers and 1,376 other ranks. 2,240hrs to 3.30am 3rd Brigade relieves 1st Brigade in Line.
18 August 1916
First Division mounts assault at both ends of Line; on left towards Mouquet Farm and, on the right, an advance on both sides of Bapaume Road.
16 August 1916
Relief of Fourth Division underway, at 5.00pm First Australian Infantry Division assumes command of operations.
14 & 15 August 1916
Under continuous, accurate artillery-fire. Casualties heavy. Minimal advance, positions consolidated. Early morning enemy attacks beaten back. 13th Brigade completes relief and 13th Battalion finally released to rejoin 4th Brigade, now at Warloy. They arrive to tumultuous welcome.
13 August 1916
Having gained the line of the Quarry, most of 4th Brigade retire to the Brickfields (Albert) having been relieved in the Line by 13th Brigade.
12 August 1916
1st Anzac Corps Operations Summary for 4-11 August estimates casualties involving both Second and Fourth Australian Infantry Divisions at 119 officers and 4,284 other ranks for that week.
9 August 1916
Under heavy ALLIED artillery attack 15th Battalion falls back at about 3.30pm. At 8.00pm 15th and 16th Battalions reclaim abandoned trench-line capturing 50 prisoners in the process.
8 August 1916
15th Battalion (4th Brigade) leads successful assault towards Mouquet Farm.
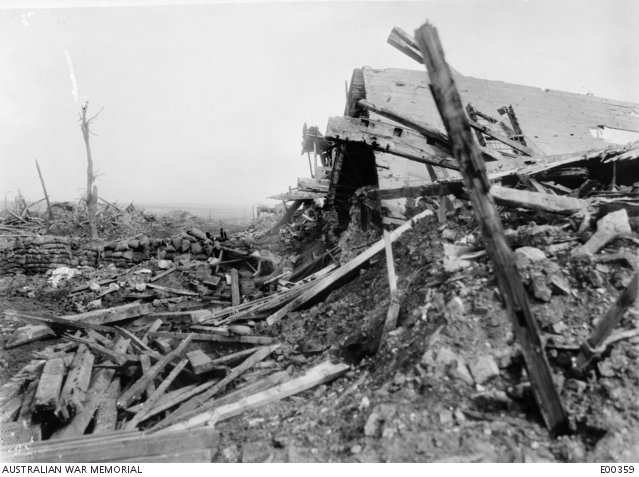
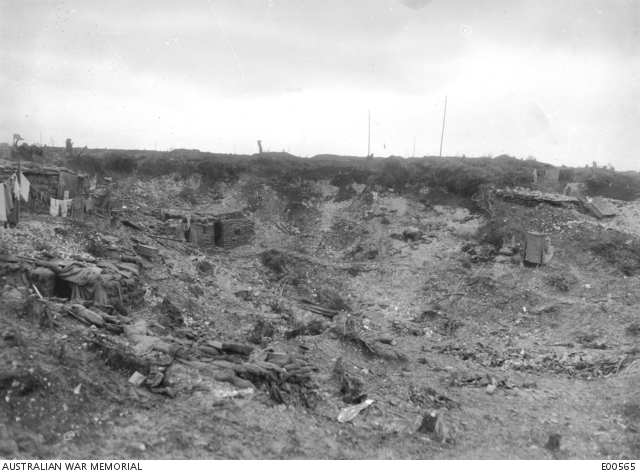
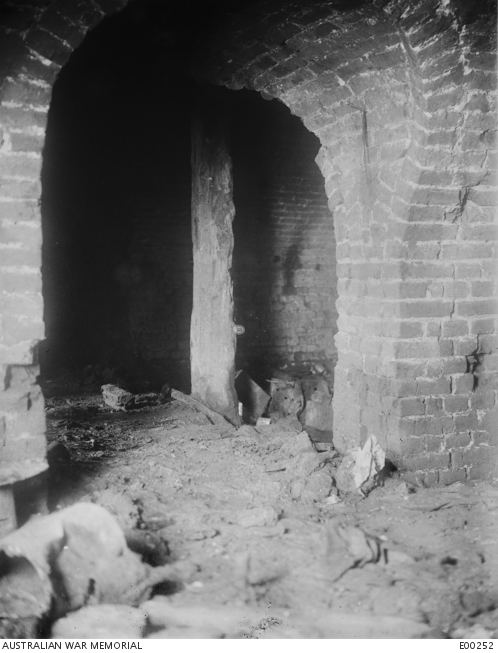
The image to the right is a photo of the remains of the cellars under Mouquet Farm.
7 August 1916
Early morning counter-attack results in all-in brawl between German and Australian infantry (including Lewis-gunners of 26th Battalion led by Lt. Cooper). Near platoon size groups from 15th and 48th Battalions playing a large part. German infantry ejected with heavy casualties. Capt. Albert Jacka, V.C., of 13th Battalion (4th Brigade) subsequently awarded Military Cross for leading part in the defence. 9.00pm Fourth Australian Infantry Division assumes control of Pozieres.
With the exchange of Command on 07 August it may be said that the battle for the village of Pozieres ended and the battle for Mouquet Farm began.
6 August 1916
Night counter-attack repulsed. 9.00pm relief of Second Division by Fourth Australian Infantry Division begins.
5 August 1916
New positions consolidated, early morning counter-attacks foiled by artillery. Windmill site captured by 7th Brigade at 9.50am. Accurate enemy artillery-fire fell all day with little variation in intensity.
4 August 1916
Attack goes in at 9.15pm. Objectives in OG1 and OG2 secured by 12.00am. Trench-lines were destroyed by artillery – bulk of troops pulled back to Tramway trench leaving shell-hole picquets to connect right and left of new line. (2nd Anniversary of Commencement of War – celebrations postponed)
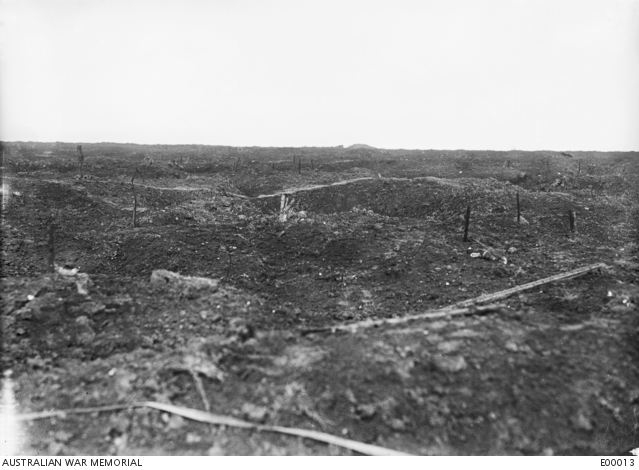
The image to the right is a photo of the view from Tramway Trench.
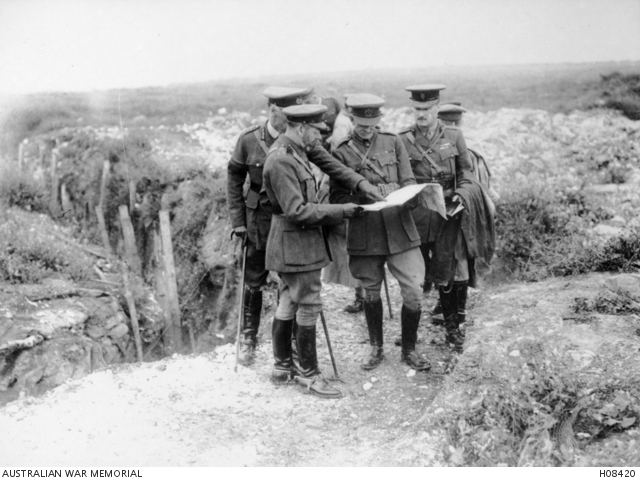
29 July 1916
Assault by elements of all three Brigades goes in at midnight and is subjected to very heavy machine-gun and artillery fire. Some ground made on extreme left and extreme right. At 10.00am a conference of Corps and Divisional Commanders was held . It was decided to repeat the attacks (with better preparation) as soon as possible.
28 July 1916
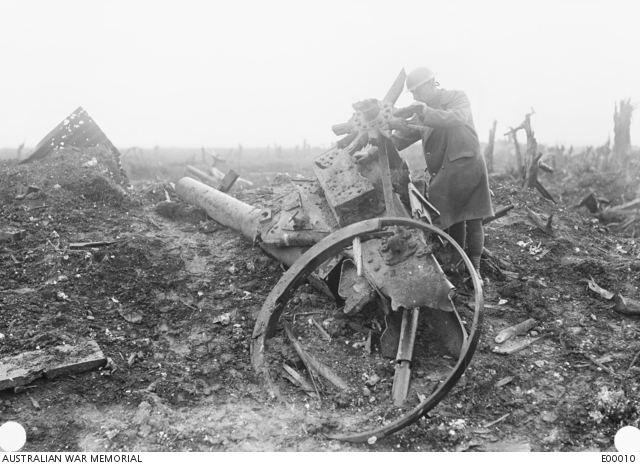
With Dawn-light shining on the battlefields the weight of shelling increased. Brigades on the Front Line spend day digging themselves in, digging each other out and repelling counter-attacks. Preparations were also being made for frontal assault on OG1, OG2 trenches.
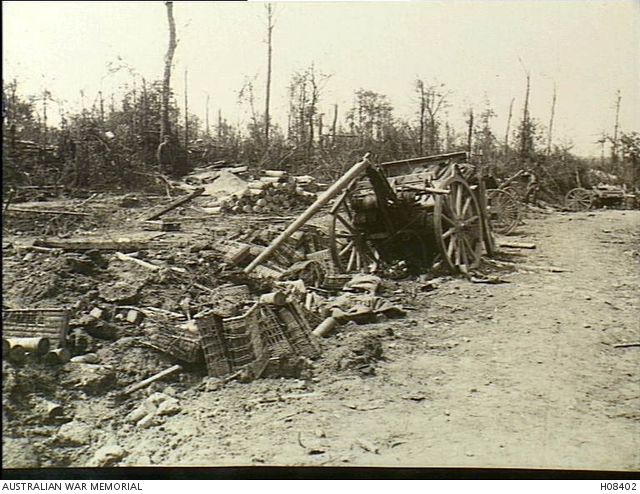
Photo shows an Australian soldier examining the remains of a German gun at Pozieres.
27 July 1916
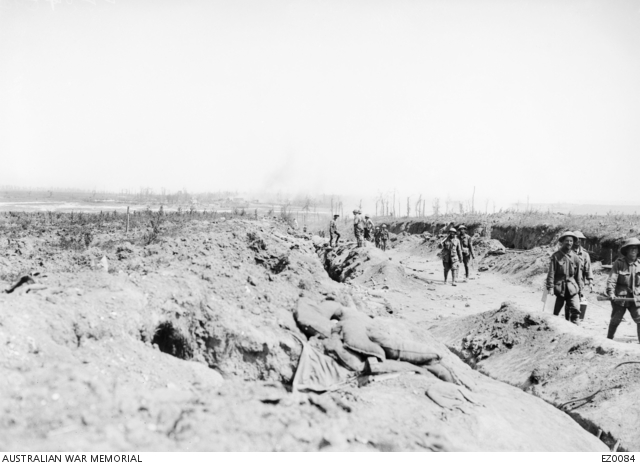
9.00am Second Australian Infantry Division assumes command in Pozieres and gives this position report: 5th and 6th Infantry Brigades in the Line, 5th Brigade on the right flank, 6th on the left, 7th (including 26th Battalion) in reserve, the Line running “in an irregular line through and round (the) northern edge of Pozieres”…..”with 48th Division on our left and 23rd Division on our right”. Shelling continuous until light fails, resumes at irregular intervals throughout night.
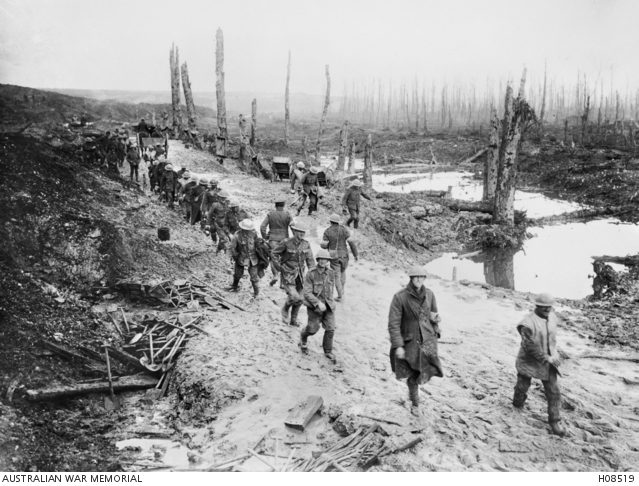
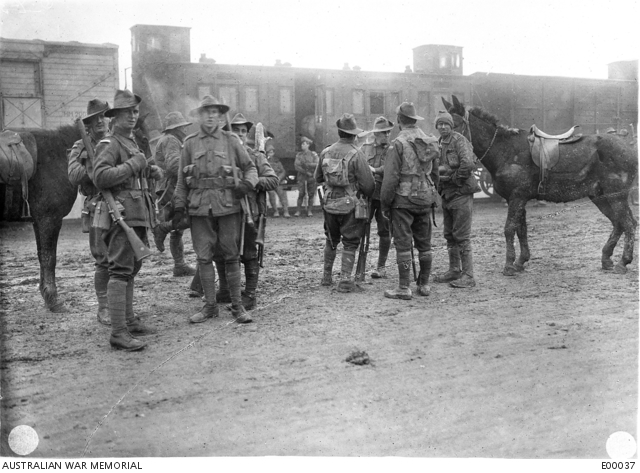
Photo shows soldiers carrying jerrcans walking along the line of trenches dug during a German advance.
26 July 1916
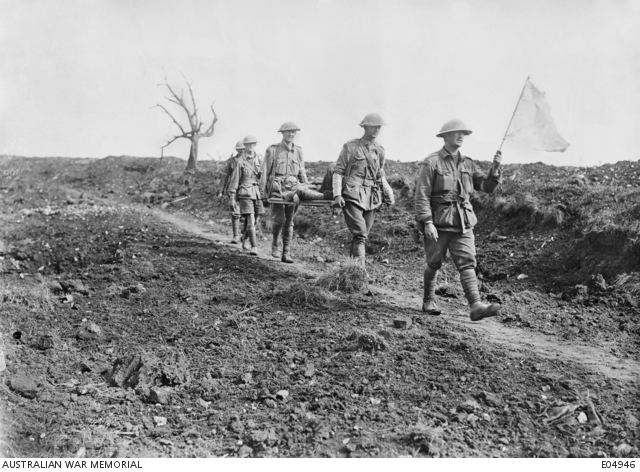
Relief of First Division by Second Australian Infantry Division continues in the face of heavy shelling and intermittent counter-attacks. 5th Brigade relieves 3rd Brigade; 12th Battalion casualties: 14 officers, 407 other ranks. First Division total casualties 5,285.
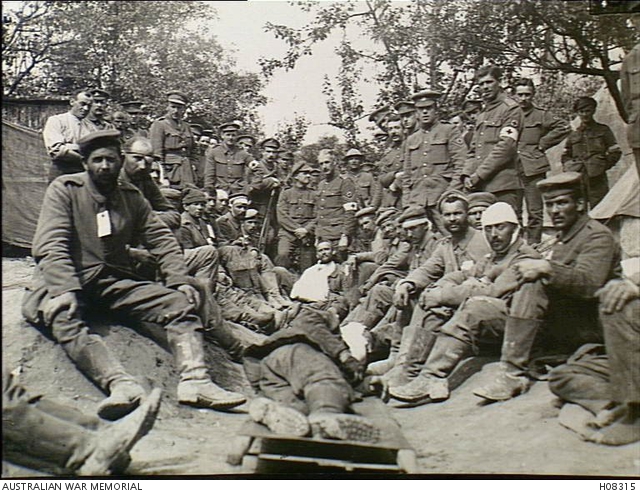
The photo to the right shows Australian stretcher bearers coming in under a white flag passing through the battlefields of Pozieres.
25 July 1916
2.00am assault battalions advance forward and the North end of Pozieres was secured. The assault on OG1 entered a stalemated. Two counter-attacks beaten back however shelling remained persistent. Relief by Second Australian Infantry Division commences.
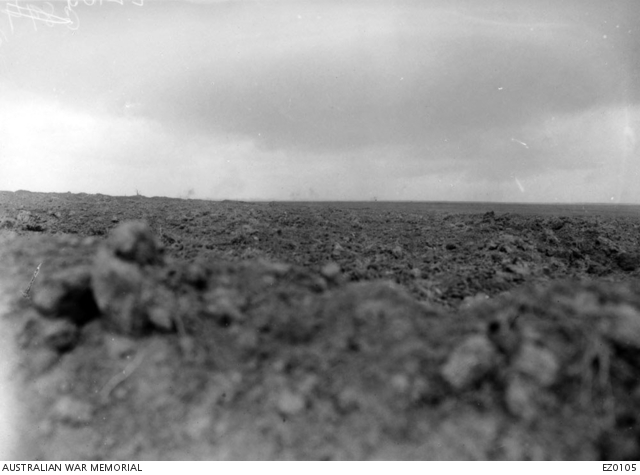
The photo to the right shows no man’s land as seen from the Australian front line.
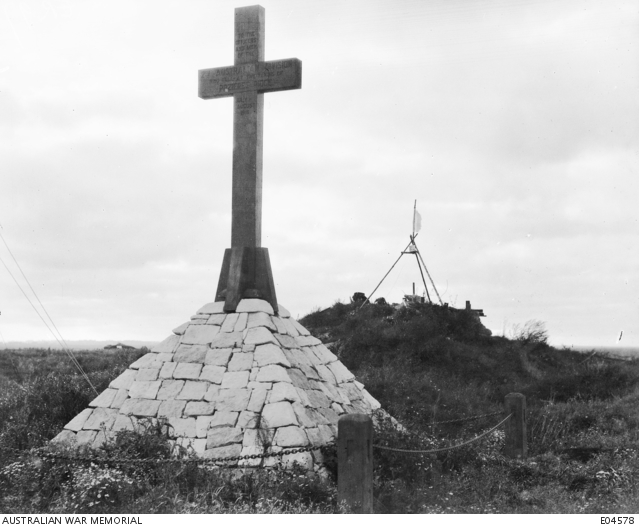
24 July 1916
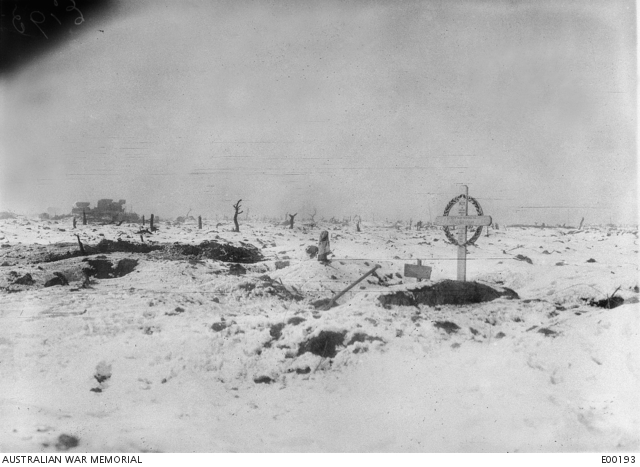
Consolidation of hold on Pozieres and preparations for assault on OG1 and OG2 (Old German Line) trenches completed. (OG’s 1 & 2 refer to two parallel German trench lines guarding the crest of the ridge above Pozieres.) At 8.30am a counter-attack was beaten back. Shelling continuous and heavy throughout day. Tasmanian Captain Ivor Stephen Margetts of Wynyard was killed in action on this day. The picture to the right shows the battlefield in Pozieres near the school house where the 12th Battalion was entrenched. The grave is that of Captain Margetts.
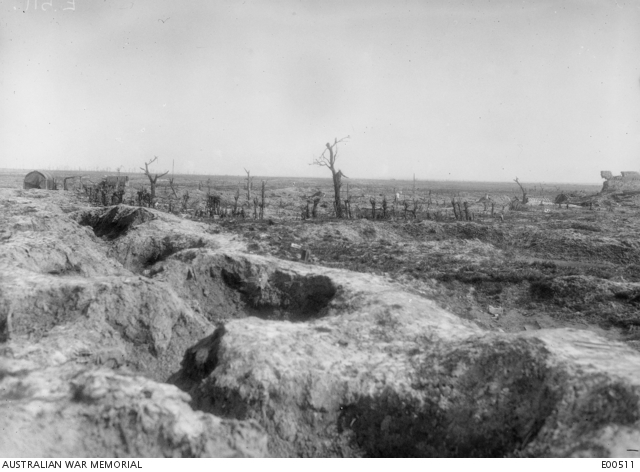
23 July 1916
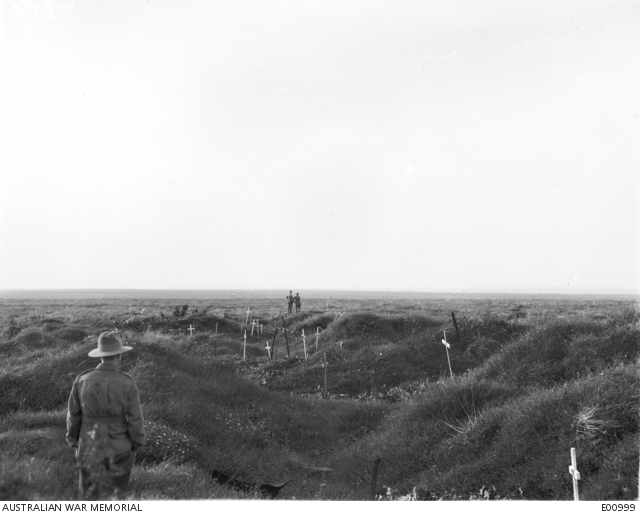
12.30am 9th and 11th Battalions assault and seize the first objective within two minutes. By 1.15am the second objective had been gained by the 10th and 12th Battalions. At 12.10am orders received to complete the capture of Pozieres. Heavy and continuous shelling throughout the day, harassing fire by night. Late counter-attack by enemy dispersed by Allied artillery. The photo to the right shows an unidentified soldier views the Australian graves along the old OG1 (Old German) line on the battlefield of Pozieres.
22 July 1916
Attack order issued and by 11.30pm assaulting battalions in jumping off trenches.

20 July 1916
3.00am First Australian Infantry Division assumes command of Pozieres Sector.
19 July 1916
3rd Brigade move up to Albert, 10th and 12th Battalions in reserve trenches at the head of Sausage Valley, between Contalmaison and La Boiselle (Wire Trench?). 9th and 11th Battalions begin relief of 58th (British) Brigade in the Line.
In the north, 5th Australian Infantry Division assault Fromelles causing 5,000 Australian casualties.

14 July 1916
3rd Brigade placed a six hour’s notice to march and continues training in meantime.
Meanwhile British forces tried again to attack the enemies defence with this time managing to inch forward due to more realistic planning. Another week of intermittent fighting accompanied by the overhead ebb and flow of artillery had exposed Pozieres. This came at the cost of an exhausted British Divisions.

11 July 1916
First Australian Infantry Division, led by 3rd Brigade, arrives in Somme area and concentrates around Naours before moving forward to an area just S.W. of Albert.

7 July 1916
On July 7th the headquarters of 2nd (British) Army issued Army Order #818 to 1st Anzac Corps directing an immediate move south by 1st, 2nd, and 4th Australian Divisions.
2 July 1916
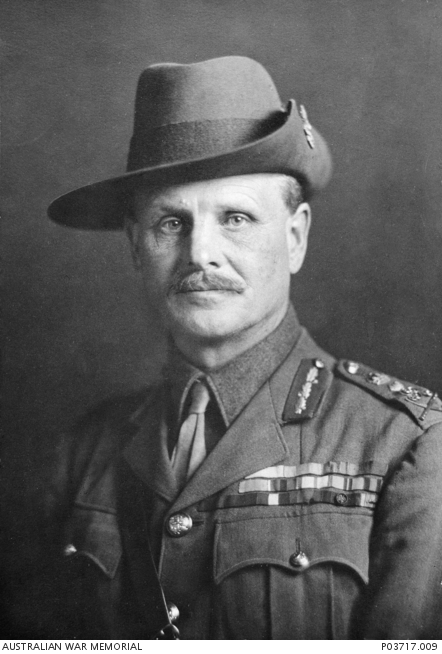
Late that evening the 1st Anzac Corps Operations Order #8, signed by General Birdwood, placed the 1st and 2nd Australian Infantry Divisions on 24hrs notice for a move south.
1 July 1916
The first day of the Battle of the Somme. The French city of Amiens had already endured many days of relentless loud shocks as nearby Allied artillery pounded enemy positions around France.
In the Valley of the Somme River the Allies had gathered the largest concentration of artillery seen in World War One. This mass of guns rained destruction down upon the enemy’s defences – at least that was the plan.
It was soon realised that the soft, wet ground, the 30 per cent rate of dud shells shot and bad weather would make it near impossible to reduce the enemy’s defences.
Meanwhile, the town of Fleurbaix hummed with discrete activity as the 4th Australian Infantry Division relieved the wet, cold 1st Australian Infantry Division in front-line trenches. To their right and about 6 km away, crouched the saturated and silent 2nd Australian Infantry Division starring directly across land soon to be covered with the bodies of the (yet to arrive) 5th Australian Infantry Division.
Ninety kilometres south, facing Amiens, Britain and her French Ally launched themselves at their enemy. In the next few hours the British Army alone suffered nearly 60,000 casualties, a third of them fatalities. This day is still known as the costliest of World War one.